Quinoa & Buckwheat Sourdough Bread
Delicious gluten free sourdough that you don't need a starter for!
You know what my favourite part about this recipe is? You don’t have to look after a sourdough starter in the fridge! I did that years ago with a rye sourdough I’d make for friends and family (I’m gluten free, but I’d sneak the odd piece to taste test of course).
Sometimes I’d go weeks without feeding the poor culture if I was feeling particularly low on energy, but this recipe you start from scratch every time. And even though that may sound like a lot, it isn’t really!
Time: 2ish days (depending on the climate)
Bake time: 1 hour (ish) (depending on the oven)
Actual kitchen prep time: 20 (ish) minutes
Ingredients:
300g quinoa (1 1/2 cups) [original recipe was 250g]
96g buckwheat (1/2 cup) [original recipe was 80g]
10-20g flaxseeds (2 Tbsp)
1 heaped tsp fenugreek seeds
1 flat tsp salt
1 tsp baking powder
water (for soaking and then blending)

Optional: raisins, spices or nuts and seeds for flavour.
One thing you’ll learn about me is I enjoy the inspiration of recipes and then I also LOVE the freedom of making it simple, easy and failproof (mostly). So I won’t always give exact amounts…it’s part of the creative process right?
Process:
Soak grains, flaxseeds and fenugreek overnight.
Sometime the next day (depending on the weather I leave it for 12 to 18 hours), drain the soaking water, rinse, then place the mix in a blender and pour in just enough water so that the grains are covered, but literally only by about a milliliter or so (depending on your climate you may want to make it slightly dryer or wetter, but you’ll soon get the feel for it).
Blend until it’s smooth and then pour back into the dish - preferably glass or pottery.
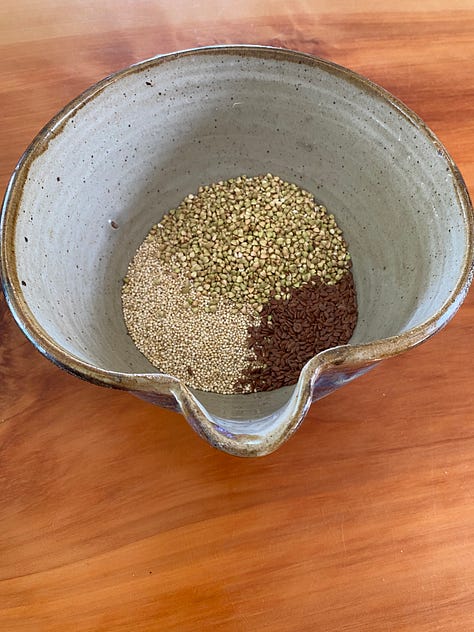
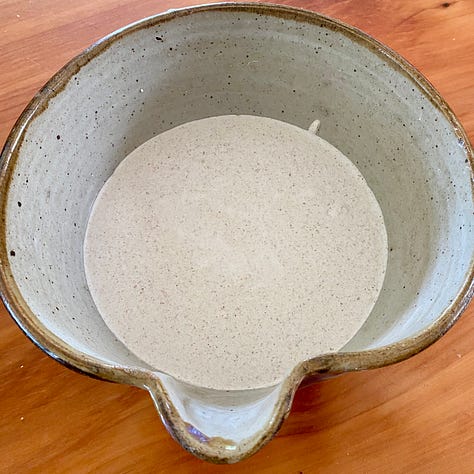
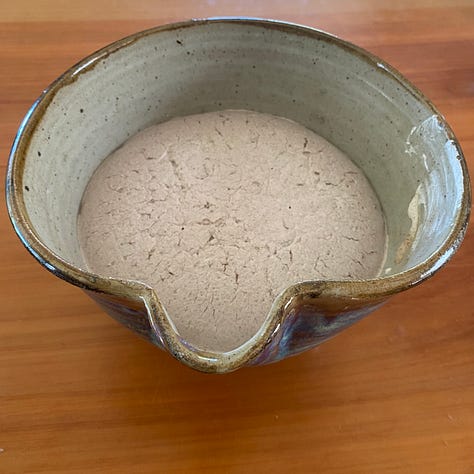
Soaking then fermenting... I like to place a dishtowel over the top and leave it on the counter somewhere warm (but not too warm) to ferment, usually overnight - this of course varies again on the seasons and temperature (the way you know it’s fermented is when it puffs up as if rising, or if it’s in glass you’ll see the little bubbles). Sometimes it’s as short as 8 hours in summer.
When it’s fermented (but not too fermented), heat the oven to 200°C fan bake (in these pictures I made it in my parents’ Weber and actually it seems to rise perfectly in that temperature scape between 190 and 200°C (392°F) - but of course you’ll know this really depends on the oven).
Gently stir in the salt, baking powder (and any nuts, seeds, raisins, spices or herbs you may like), then pour it into your baking dish. I like to use a loaf tin, and silicone baking dishes are my friend, because I don’t have to use baking paper or grease anything (when I use softer silicone I place it in a glass or metal bread tin to retain its shape).
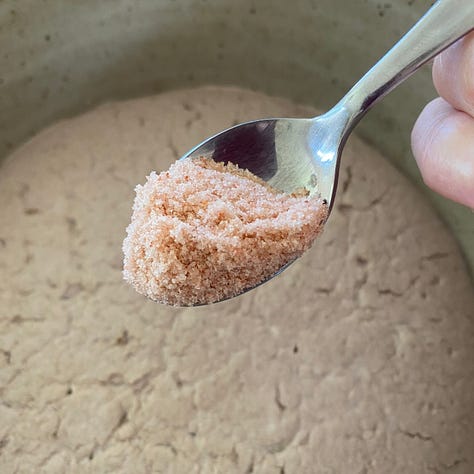

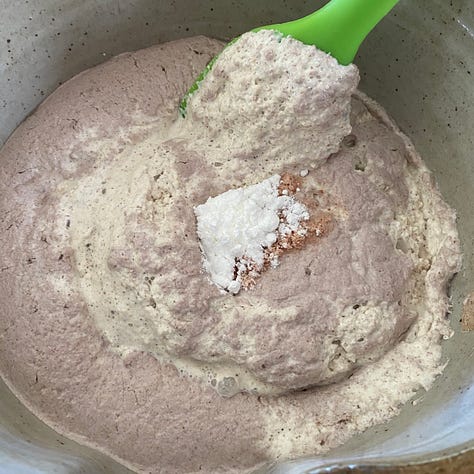
Gently stir in salt and baking powder. Put into the oven for an hour (in the little Weber it can take about 1 hour and 20 minutes). Sometimes you may need to go a little longer (or shorter), again depending on your oven and its particular quirks. So the first time please keep an eye on it and you may even want to give 180°C a go if your oven tends to cook a little on the hotter side.
If you’re using silicone, cool it wrapped in a cloth before removing, otherwise the edges can stick. Cool on a cooling rack in a towel.
Even though it’s so tempting to cut it open while it’s hot and steamy this can cause it to sink, so even if you’re feeling impatient, see if you can wait until it’s warm not hot. I like to take it out of the tin after about 10 minutes and wrap it in a tea towel.

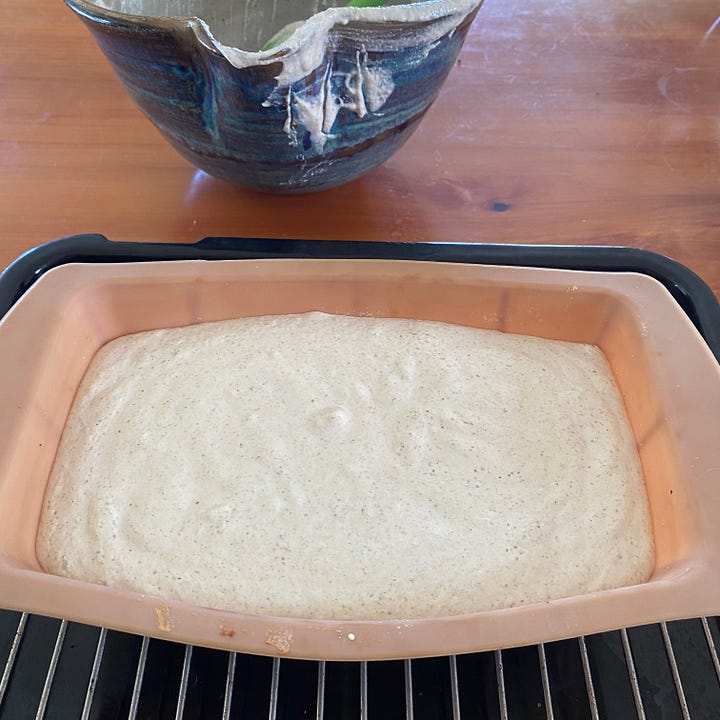
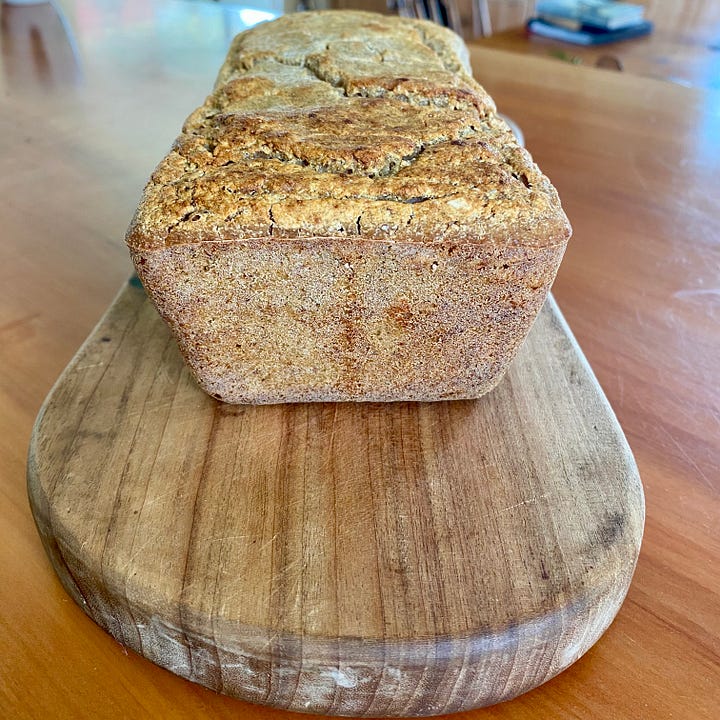
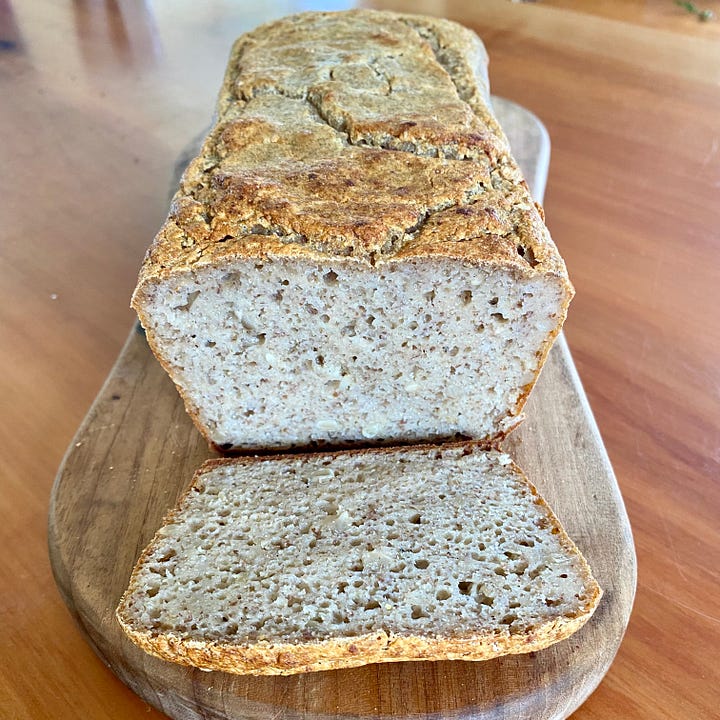
Ready, set, go... Eat it as is or smear butter (or a vegan option), nut butter or something like avocado, and enjoy.
It’s also delicious toasted after a few days.
Most importantly: ENJOY :)
Maybe find a spot to sit down and really savour the moment with this delicious nourishment, knowing that it’s been made with love and care and a few sprinkles of magic!
Please share your photos or experiences with this loaf, and if you have any questions at all, I would love to hear them.
Lots of love,
Kali


Oh I need to try this! Bread from
Scratch - yes pls x